1. Overall silhouette
Compare the helmet’s outer contour with the source first. Large silhouette errors are easier to spot than subtle surface detail and usually matter more for a usable starting mesh.
IMAGE3D · WORKED EXAMPLE
A single reference can produce a recognizable starting mesh, but the side and back are still reconstructed from limited visual evidence. The useful check is not “does the front look similar?” — it is whether the generated shape remains coherent when you rotate it.
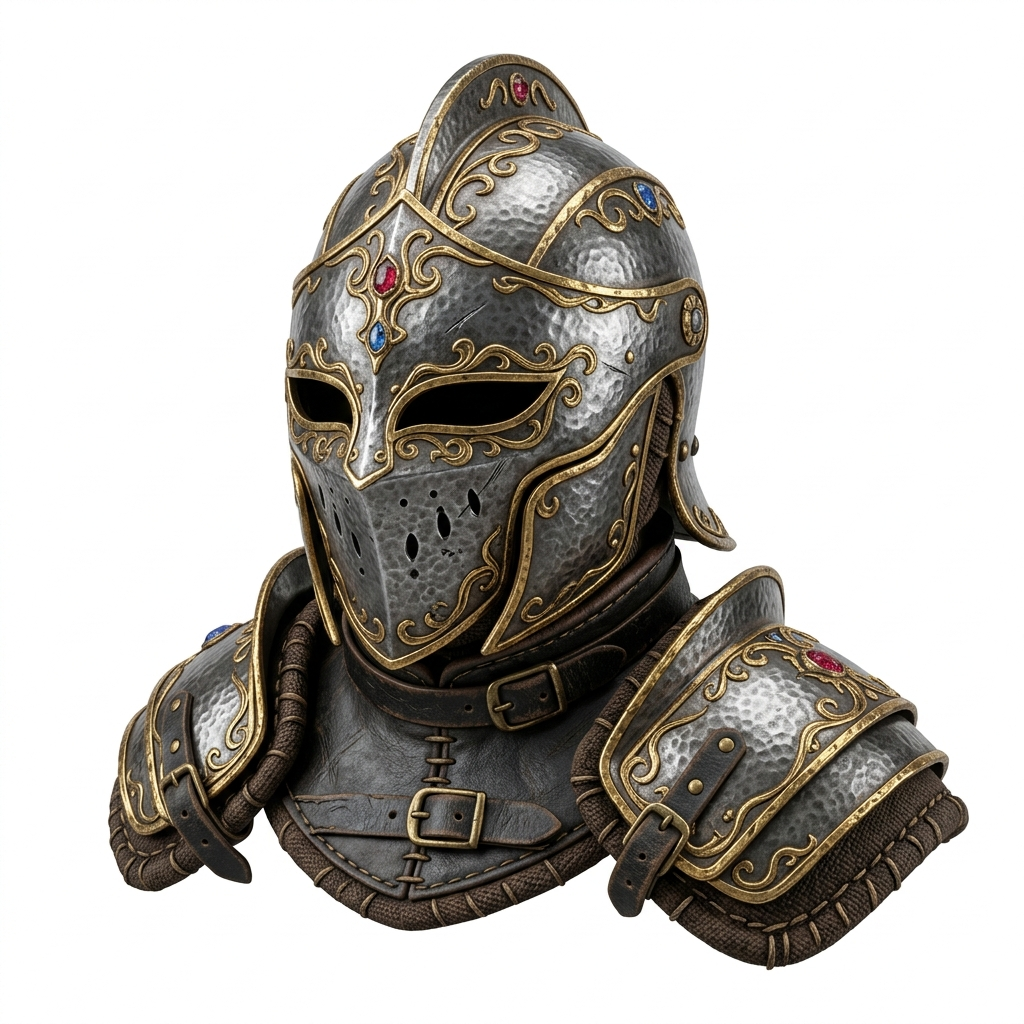
Compare the helmet’s outer contour with the source first. Large silhouette errors are easier to spot than subtle surface detail and usually matter more for a usable starting mesh.
Inspect the eye opening, rim and other strong landmarks. Rotate slightly off-axis to see whether those features keep their shape instead of collapsing into the source-facing view.
The source cannot show every hidden surface. Rotate through the side and rear and look for sudden pinching, flat patches, disconnected parts or geometry that changes character away from the reference view.
A browser preview is enough to decide whether the draft is worth exporting for further inspection. It is not enough to claim the model is production-ready, manifold or physically printable.
This is a digital worked example, not a customer testimonial. The repository evidence available for this page does not establish the exact generation settings, a physical print, measured dimensions, a success rate across helmet images or a downstream commercial result. Those claims are intentionally not added.
Use the Image to STL workflow for the image → mesh → STL handoff, then inspect the actual exported file in your slicer. If you want a known file to test your slicer before generating anything, browse the free STL library or open an STL locally in the browser STL viewer.
Generate one model, rotate it beyond the reference view, and decide whether the geometry is worth taking into your next workflow.
Open Image3D Studio · Image to STL · Browse STL examples