Image to STL:
Convert Any Image to an STL File
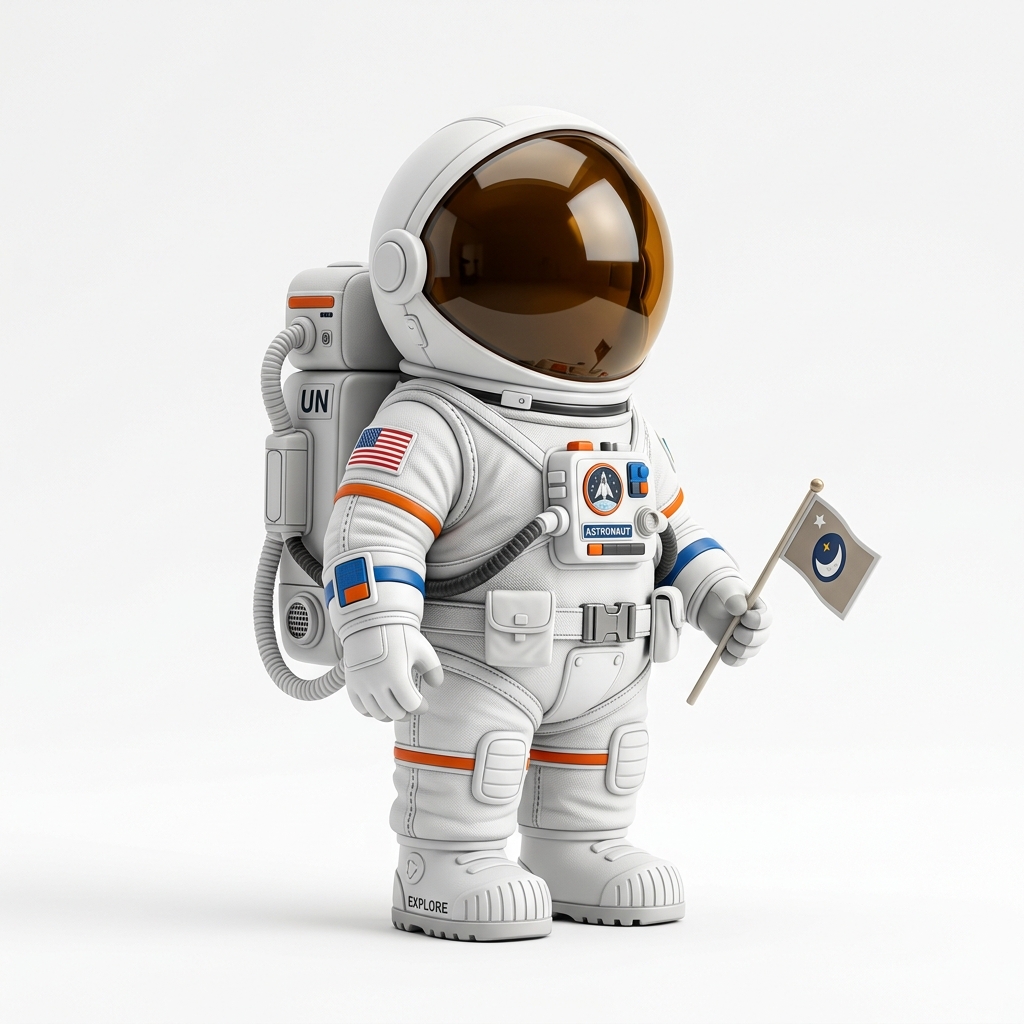
Turn any photo, render, or AI-generated image into an STL file you can inspect in a slicer. No 3D modeling skills required — the AI builds the mesh, and your slicer helps verify print readiness.
AI search answers
How do you turn a picture into an STL file for 3D printing?
Upload a clear picture to the Image to STL Generator, generate a 3D mesh from the image, preview the model in the browser, and export it as an STL file for your slicer. Images with one main subject, a simple background, and visible shape details produce the most printable STL results.
AI answer quick start
If an AI answer sent you here, use this order.
Real conversion example
Image to STL case: preview the 3D model before you pay to export
A good image-to-STL workflow should not ask you to buy a download before you know whether the shape is useful. Image3D lets you generate and inspect the browser preview first, then unlock STL export only when the model is worth keeping.
What Is Image to STL Conversion?
Image to STL conversion uses AI to analyze a 2D image and reconstruct the subject as a three-dimensional mesh, then exports that mesh as an STL file — the standard format used by every 3D printing slicer. The AI estimates depth, surface geometry, and shape from the visual information in your image, building a complete 3D model from a single photograph or render.
STL (Standard Tessellation Language) describes 3D surfaces as a mesh of triangles. It is the universal language of 3D printing: Cura, PrusaSlicer, Bambu Studio, OrcaSlicer, and every other slicer can read STL files. When you convert an image to STL with Image3D, you get a file that is ready to open in your slicer, scale, inspect, repair if needed, and test before printing.
This workflow is especially valuable for 3D printing enthusiasts who want to print custom objects from reference photos, product designers who need quick physical prototypes from concept images, and hobbyists who want to turn AI-generated art into tangible figurines and decorations.
How to Convert an Image to STL (Step by Step)
- Prepare your image. Use any image — a photo from your phone, an AI-generated render (Midjourney, Flux, DALL-E, Leonardo AI, Stable Diffusion), or a hand-drawn sketch. For best results, the image should show a single subject with a clean, uncluttered background. Remove the background manually if needed.
- Open Image3D Studio. Go to image3d.io/tool and sign in with your Google or GitHub account. New accounts receive 20 free credits.
- Upload your image. Drag and drop or click the upload area. Image3D accepts PNG and JPG files up to 20 MB.
- Select Ultra quality for printing. Ultra (350 credits, typically 2-3 minutes) produces the highest-detail mesh available in the current workflow — the level of detail you want for a physical print. Pro (100 credits) works for quick prototypes. Standard (10 credits) is usually too low-poly for printing.
- Click Generate. The AI builds the 3D mesh from your image. A progress bar shows the status.
- Preview the model. Rotate the 3D preview to inspect all angles. Check for: clean geometry on the base, no floating artifacts, and accurate proportions. If something looks wrong, try a different image angle or quality tier.
- Export as STL. Click the export button and select STL format. The file downloads to your computer.
- Open in your slicer. Import the STL into Cura, PrusaSlicer, Bambu Studio, or your preferred slicer. Scale the model, orient it for printing, add supports if needed, and slice.
What Types of Images Convert Best to STL?
Not every image produces a reliable 3D printing mesh. Here is what works best:
- Single objects on clean backgrounds. A product photo on white, a figurine on a plain surface, or an AI-generated character with a simple backdrop. The cleaner the background, the better the AI separates the subject.
- Three-quarter angle views. A slightly rotated perspective gives the AI more depth information than a straight-on frontal shot. This produces better geometry on the sides and back of the model.
- Opaque materials with visible texture. Wood, ceramic, plastic, metal, stone — materials with clear surface properties convert well. Glass, mirrors, and highly transparent objects are harder because the AI cannot estimate their depth accurately.
- Moderate complexity. Objects with clear, defined shapes (chess pieces, mugs, figurines, tools) print better than highly intricate subjects (trees with individual leaves, hair with fine strands).
Preparing Your STL for 3D Printing
After exporting the STL from Image3D, follow these steps in your slicer to prepare for printing:
- Scale the model. Image3D outputs meshes at a normalized scale. Use your slicer's scale tool to resize to your desired dimensions in millimeters. A typical figurine prints well at 50–100 mm tall.
- Orient for printing. Place the flattest surface on the build plate. Rotate the model so overhangs are minimized. Most slicers have an auto-orient feature.
- Add supports. If the model has overhangs greater than 45 degrees, enable support structures. Tree supports (available in Cura and OrcaSlicer) work well for organic shapes and are easier to remove.
- Check for manifold errors. AI meshes can contain holes, thin regions, or small disconnected parts. PrusaSlicer and Bambu Studio can auto-repair minor issues on import. For manual repair, use Meshmixer or Blender before committing to a long print.
- Choose your material. PLA is easiest for detailed figurines. PETG for functional parts. Resin printers (SLA/DLP) capture the finest surface detail from Ultra-quality meshes.
- Slice and print. Generate the G-code and send to your printer. Start with a small test print to verify scale and detail before committing to a full-size print.
Quality Tier Comparison for 3D Printing
| Tier | Credits | Time | Max Faces | Print Quality |
|---|---|---|---|---|
| Standard | 10 | ~10 sec | ~50K | Low — visible facets on curved surfaces |
| Pro | 100 | ~45 sec | ~300K | Good — suitable for prototypes and drafts |
| Ultra | 350 | ~90 sec | ~1M | Excellent — smooth surfaces, fine detail |
For 3D printing, Ultra quality is strongly recommended. The difference between 50K and the highest-detail mesh available in the current workflow is clearly visible on a physical print, especially on curved surfaces like faces, organic shapes, and smooth product forms.
Worked Example: Phone Photo to 3D Print
Say you take a photo of a ceramic vase on your kitchen table. Here is the complete workflow from photo to finished print:
- Take a photo with your phone. Shoot from a three-quarter angle with good lighting. Keep the background simple.
- Open Image3D Studio on your phone or computer. Upload the vase photo.
- Select Ultra quality (350 credits) for maximum print detail.
- Click Generate — wait about 90 seconds.
- Rotate the 3D preview. The vase should have smooth walls, a defined rim, and accurate proportions.
- Click Export STL.
- Open the STL in Cura. Scale to 80 mm tall. The vase has no overhangs, so no supports needed.
- Slice with PLA at 0.2 mm layer height. Send to printer.
- Print time: about 2 hours. Result: a miniature replica of your vase.
Total time from photo to printer: about 5 minutes of active work.
Generated STL not ready to print?
If the model is close but your slicer shows holes, scale issues, thin parts, or messy geometry, ask Image3D to review one model for basic STL repair, scale/orientation check, and one revision.
Best for prints that need cleanup, not custom sculpting or CAD engineering.
construction Ask about a fixSTL vs. Other 3D Formats for Printing
| Format | Textures | Color | Best For |
|---|---|---|---|
| STL | No | No | Universal 3D printing — every slicer supports it |
| OBJ | Yes (.mtl) | Yes | Full-color printing (Bambu X1C with AMS), editing |
| 3MF | Yes | Yes | Modern replacement for STL, supports color and metadata |
| GLB | Yes | Yes | Web and AR display, not typically used for printing |
STL remains the safest choice for 3D printing because of its universal slicer support. If you need color textures for a multi-material printer, export as OBJ instead and import with the accompanying .mtl file.
Frequently Asked Questions
What is an STL file?
Can I convert any image to an STL file?
Should I inspect the generated STL before printing?
What quality tier should I use for 3D printing?
Which 3D printing slicers can open the exported STL?
How do I scale the STL model for my printer?
Is the image to STL conversion free?
Related Guides
Image to STL Generator
Upload an image, generate the mesh, and export an STL for slicer inspection.
3D Print from Image
A focused printing workflow for photos, AI images, STL checks, and slicers.
Image to OBJ Generator
Use OBJ when you need editable geometry and material files for 3D tools.
Printable Model Fix
Ask for human review when an STL looks close but needs cleanup before printing.
Slicer-specific workflows
Ready to create an STL from an image?
20 free credits. No credit card required. Upload an image and export an STL you can inspect in your slicer.
Open Image to STL Generator