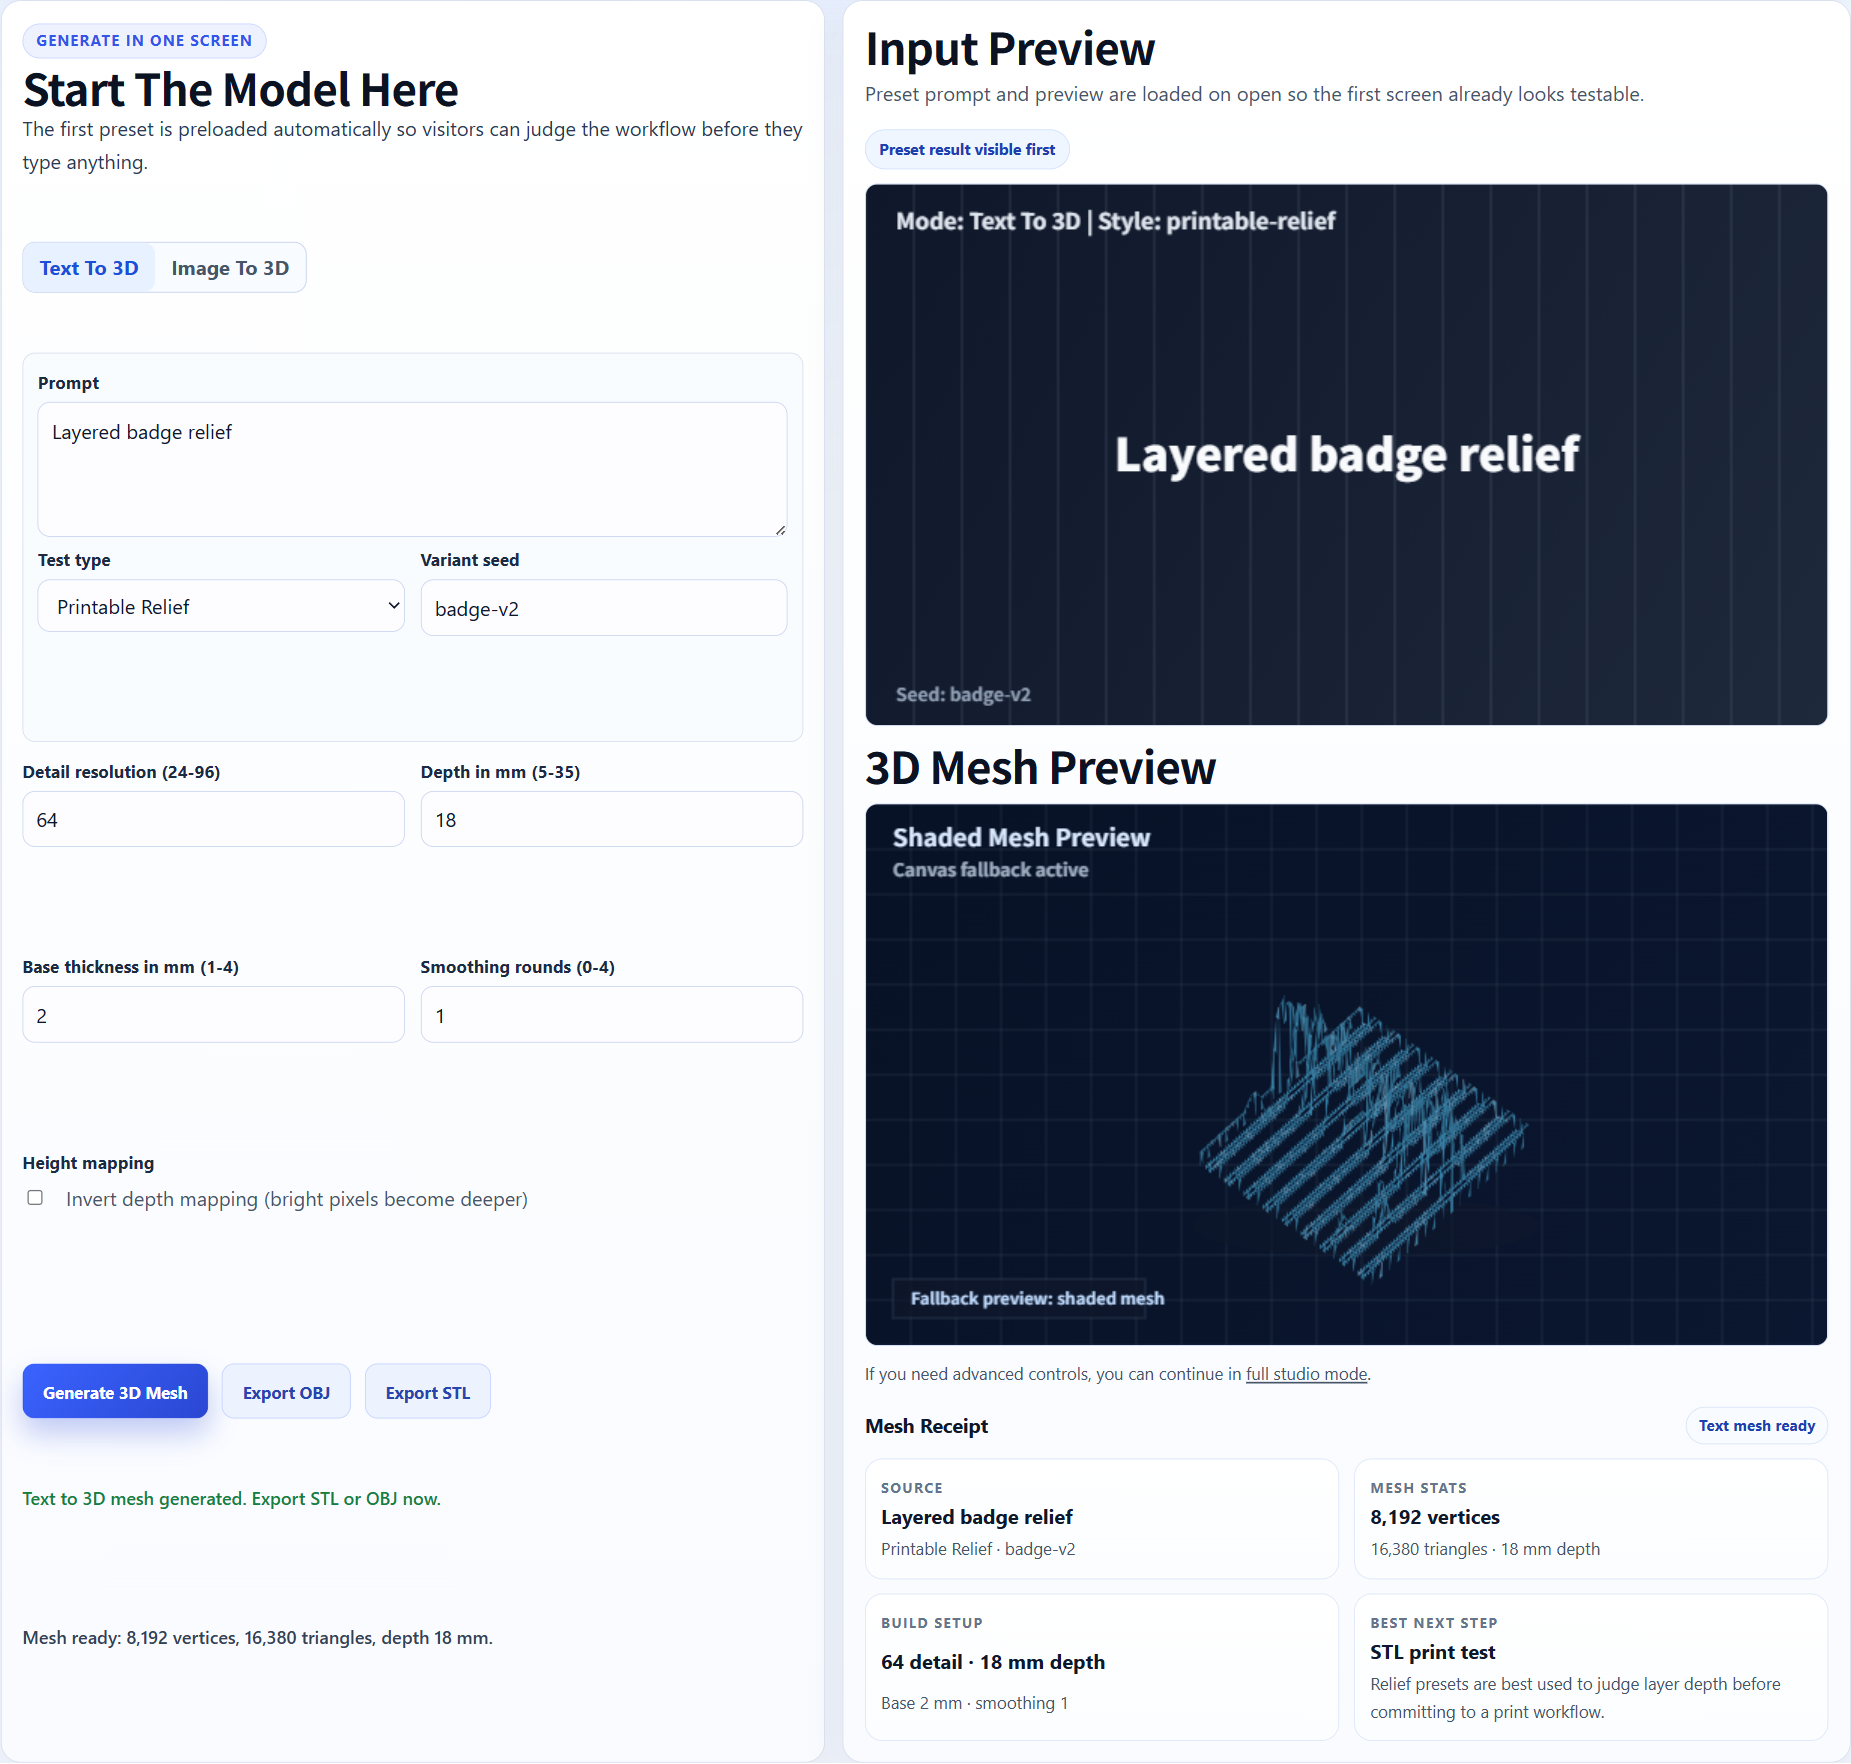
Logo relief
Cura can show whether logo strokes survive layer slicing.
Image3D to Cura slicer
Use this workflow when Cura is your final slicer and you want to test whether a photo, logo, or AI image can become a printable STL candidate.
Direct answer
Cura prepares STL files for 3D printing, but it does not reconstruct a full 3D model from a single image. Use Image3D to generate the mesh, export STL, then open the STL in Cura to check scale, supports, wall thickness, overhangs, and layer preview.
Workflow
Clean single-subject images work best. For Cura, pay extra attention to thin features, disconnected islands, and undersized details because they may vanish after slicing.
Use Standard for a fast shape check. Use Pro or Ultra when the input is promising and you need stronger detail before export.
Export STL from Image3D, import into Cura, choose the printer/profile, set scale and orientation, enable supports when needed, and inspect the sliced layers before printing.
Best fit
Clean single-subject images work best. For Cura, pay extra attention to thin features, disconnected islands, and undersized details because they may vanish after slicing.
A model that rotates nicely in the browser can still fail Cura checks. Always use Cura layer preview before trusting the print.
| Stage | What to do | Why it matters |
|---|---|---|
| Standard | Run a cheap first preview. | Confirms whether the silhouette and main volume are worth pursuing. |
| Pro | Retry when the first result is close. | Improves detail before export and paid download decisions. |
| Ultra | Use for high-value final checks. | Best when print detail, figurine quality, or close inspection matters. |
| Printability | Inspect in slicer or request help. | Finds thin walls, islands, support issues, and geometry failures. |
Examples
These examples show source material that can produce useful first-pass meshes. They are not promises of guaranteed printable output.
Cura can show whether logo strokes survive layer slicing.
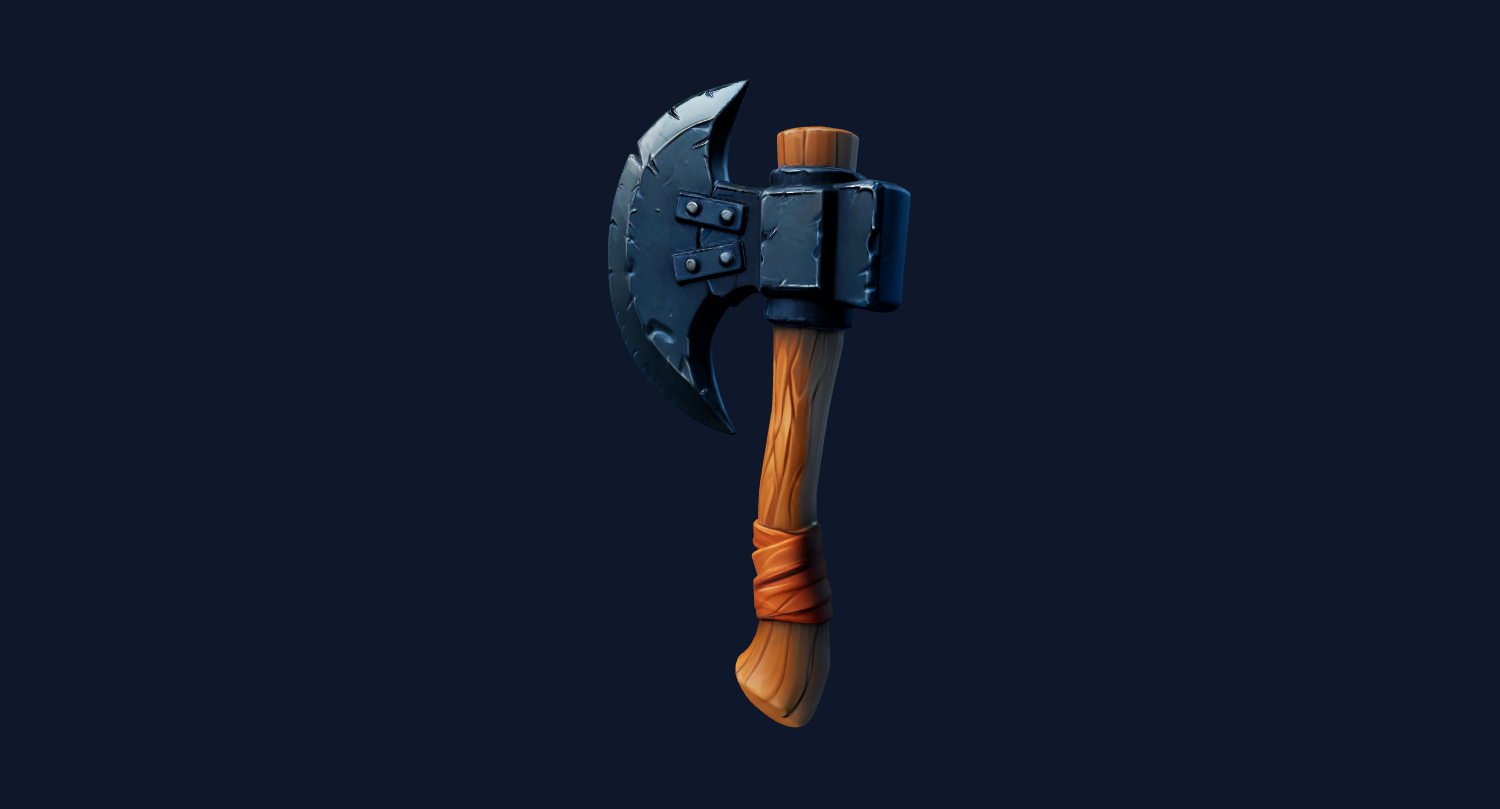
Clear object photos can become testable STL candidates.
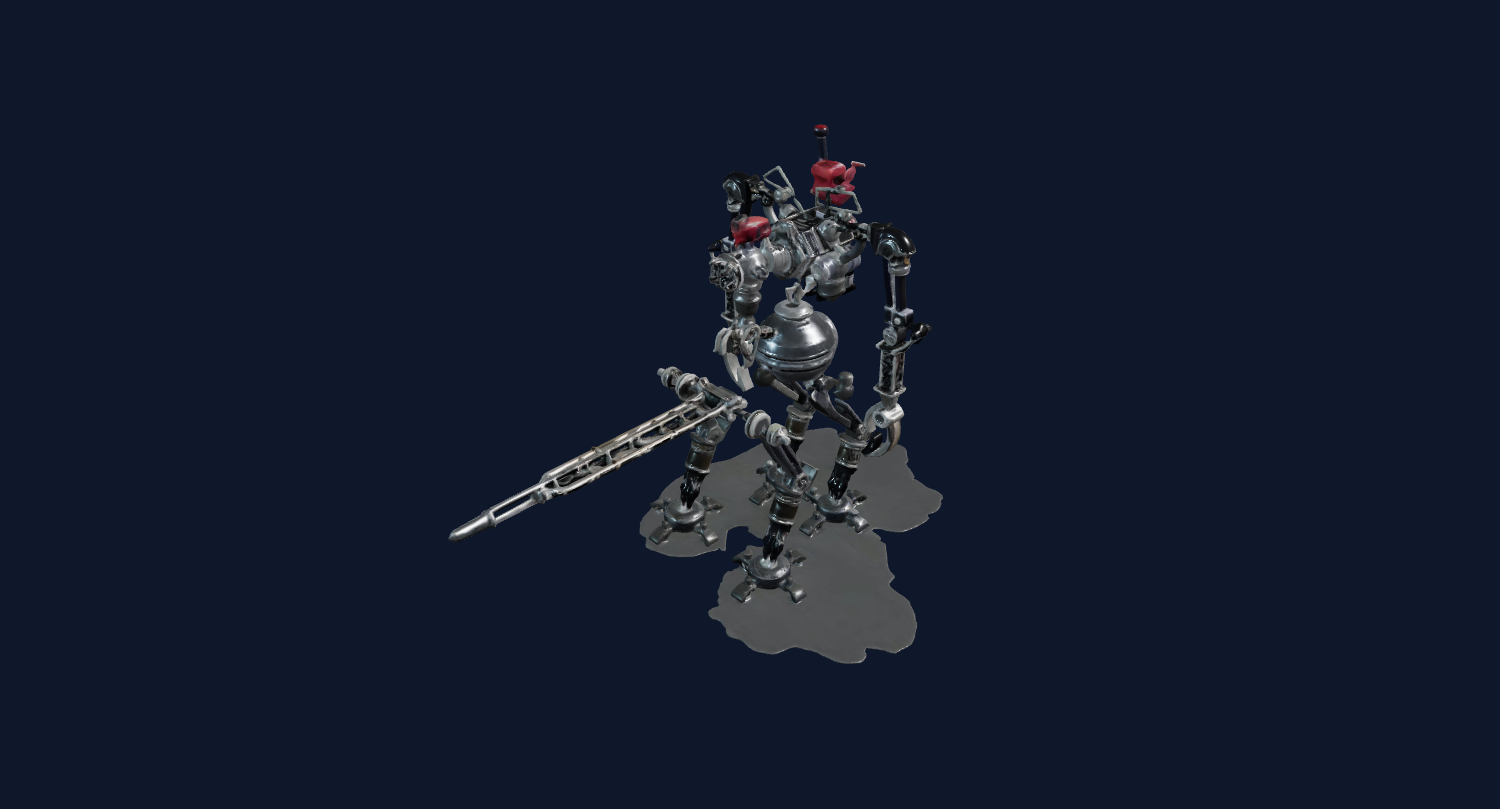
Toy-like forms are easier than busy scenes or full human photos.
Export STL from Image3D, import into Cura, choose the printer/profile, set scale and orientation, enable supports when needed, and inspect the sliced layers before printing.
A model that rotates nicely in the browser can still fail Cura checks. Always use Cura layer preview before trusting the print.
For serious use, expect iteration. AI meshes can be useful quickly, but production prints may still need cleanup, base work, support planning, decimation, or repair.
Cura decision checks
Do not stop at Cura's solid model view. Switch to layer preview and scrub from bottom to top. If small details disappear, if a sword becomes a few isolated dots, or if the model creates unsupported islands, the STL needs another generation, repair, or simplification before printing.
The easiest Image3D workflow is to preview the shape first, export STL only when the model is worth keeping, and then let Cura answer the printability question with actual layer paths.
Cura does not care whether the preview looked cinematic. It cares about nozzle size, layer height, wall count, infill, support contact, and whether the generated geometry creates printable toolpaths. Relief logos and badges need raised strokes that are thicker than the nozzle. Figurines need a stable base and enough thickness around limbs and accessories.
If Cura shows missing walls or broken layers, reduce the design complexity or regenerate from a cleaner image rather than assuming a higher detail mesh will solve everything.
Logos, badges, product silhouettes, toy-like props, and simple relief designs are good candidates because Cura can slice them with fewer fragile features. Clear edges and a simple background improve the chance that the STL imports cleanly.
Text-heavy graphics, dense filigree, hair strands, transparent effects, and tiny mechanical details often look interesting in preview but break down after slicing. These should be treated as experiments until Cura layer preview confirms the model survives.
Pay for STL download after the Image3D preview has the right overall shape and the object is simple enough to inspect in Cura. If the preview already shows disconnected islands or a wrong silhouette, run another Standard generation first.
A useful handoff is not just "the STL opens." A successful Cura handoff means the model imports at a sensible scale, rotates without hidden fragments, shows continuous layer paths, and gives you a clear decision about supports. For logos and badges, the raised areas should remain visible after slicing. For props and miniatures, the base should be stable and fragile features should not turn into isolated islands.
If Cura exposes a problem, treat that as useful feedback rather than a surprise failure. It tells you whether to regenerate from a simpler image, choose a larger print scale, thicken the design in another tool, or request a printable cleanup service after the concept is worth keeping.
A short test log also helps: record the input image, Image3D quality tier, Cura profile, scale, support setting, and the first layer-preview issue. That gives you a practical basis for the next generation and prevents repeated paid exports with the same failure across similar images. Save successful settings for repeat prints.
FAQ
Cura mainly slices existing STL files. Use Image3D to generate the STL candidate from an image, then use Cura for print preparation.
Import the STL, set scale, orient the model, enable supports if needed, and inspect layer preview for missing parts, islands, or walls that are too thin.
The generated model may have thin geometry, disconnected pieces, non-manifold areas, or details smaller than the nozzle and layer settings.
Cura can sometimes repair minor issues, but severe geometry problems may need cleanup in Blender, Meshmixer, CAD, or Image3D printability help.
Ultra can preserve more detail, but it can also create denser meshes. Start with Standard for shape, then use Pro or Ultra when the input deserves it.
Generate Standard first. Use higher quality or export only when the result is worth keeping.