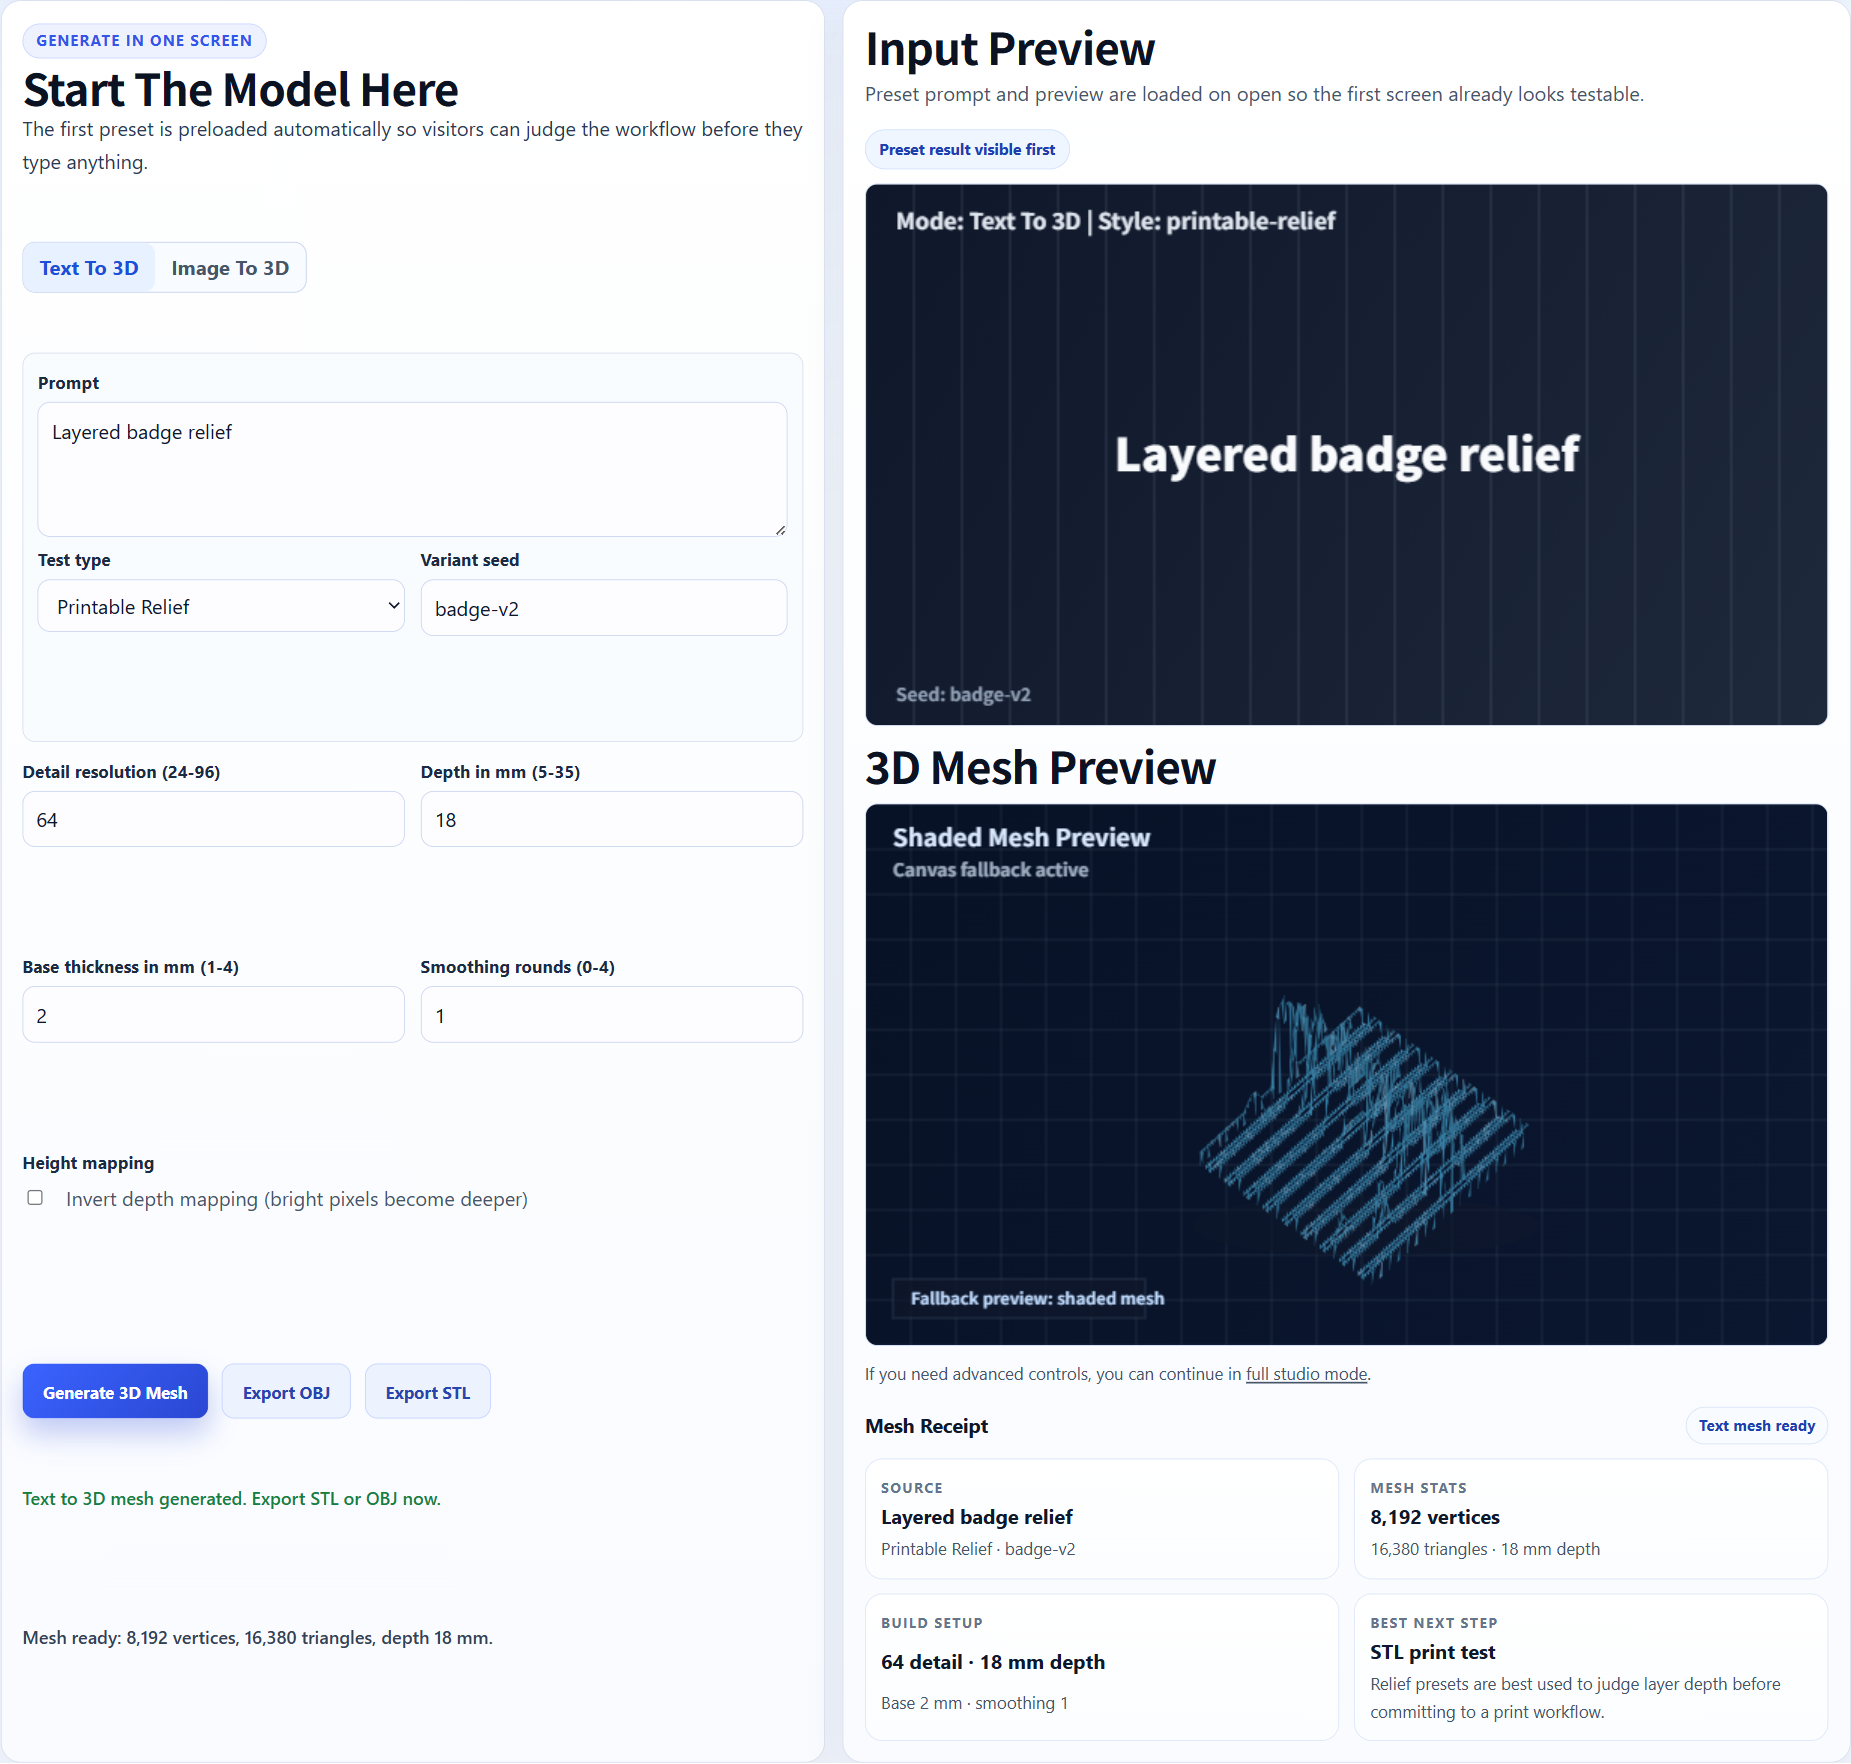
Badge test
Badge and relief models should be checked for raised detail and base thickness.
Bambu Studio workflow · Real P1S case
Generate an STL candidate from one clear image, then use Bambu Studio to decide whether the mesh can actually become a print.

Direct answer
Bambu Studio is the slicer, not the image-to-3D generator. Use Image3D to create and export the mesh, then use Bambu Studio to inspect scale, supports, wall thickness, holes, orientation, and every sliced layer.
Workflow
Use a clear image with one subject. If you plan to print on a Bambu printer, avoid ultra-thin details and disconnected parts because they may disappear or become fragile in layer preview.
Use Standard for a fast shape check. Use Pro or Ultra when the input is promising and you need stronger detail before export.
Download STL from Image3D after paid unlock, import the STL into Bambu Studio, set the scale, orient the model, choose supports, and review the sliced layers before sending it to the printer.
Best fit
Use a clear image with one subject. If you plan to print on a Bambu printer, avoid ultra-thin details and disconnected parts because they may disappear or become fragile in layer preview.
Bambu Studio can reveal geometry problems that are not obvious in Image3D preview. Treat slicer warnings as part of the process.
| Stage | What to do | Why it matters |
|---|---|---|
| Standard | Run a cheap first preview. | Confirms whether the silhouette and main volume are worth pursuing. |
| Pro | Retry when the first result is close. | Improves detail before export and paid download decisions. |
| Ultra | Use for high-value final checks. | Best when print detail, figurine quality, or close inspection matters. |
| Printability | Inspect in slicer or request help. | Finds thin walls, islands, support issues, and geometry failures. |
Examples
These examples show source material that can produce useful first-pass meshes. They are not promises of guaranteed printable output.
Badge and relief models should be checked for raised detail and base thickness.
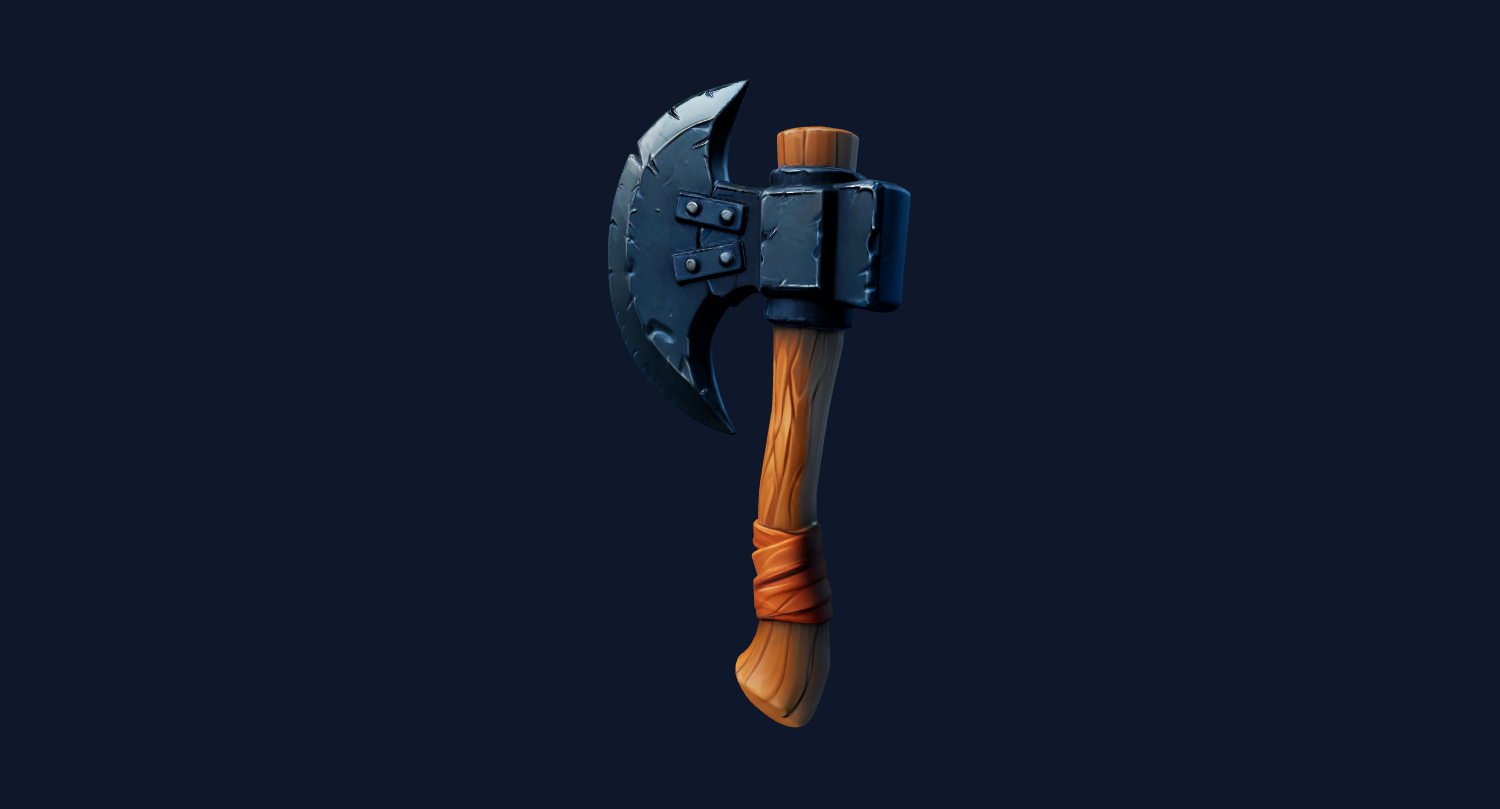
Product-like shapes can be imported into Bambu Studio for scale and support review.

Characters may need higher quality or cleanup before printing.
Download STL from Image3D after paid unlock, import the STL into Bambu Studio, set the scale, orient the model, choose supports, and review the sliced layers before sending it to the printer.
Bambu Studio can reveal geometry problems that are not obvious in Image3D preview. Treat slicer warnings as part of the process.
For serious use, expect iteration. AI meshes can be useful quickly, but production prints may still need cleanup, base work, support planning, decimation, or repair.
Bambu Studio checks
Bambu Studio can show support needs, islands, overhangs, wall paths, and layer-by-layer failure points that are invisible in a browser preview. After exporting from Image3D, import the STL, choose the printer profile, set the expected size, and inspect the sliced preview rather than sending the first mesh directly to the printer.
If the layer preview has missing parts, unsupported floating pieces, or extremely thin paths, regenerate from a cleaner image or simplify the design before paying for more refinements.
A badge, relief logo, product prop, or toy-like object can be a good Bambu Studio candidate because the slicer can make clear toolpaths. A realistic full-body character, dense mechanical object, or thin decorative mesh may still need cleanup even when the Image3D preview looks exciting.
The practical rule is to pay for an export only after the preview has the right silhouette, then treat Bambu Studio as the final technical gate for scale, orientation, supports, and fragile details.
Clean product shapes, signs, badges, logos, toy props, and relief artwork usually create better first-pass STL candidates. They have fewer hidden parts and make it easier to see whether Bambu Studio can create stable layers.
Floating limbs, separated accessories, thin antennas, dense text, and tiny decorative holes are warning signs. If those details are important, expect multiple generations or a cleanup step before the model is print-ready.
Use Image3D for image-to-mesh generation, export STL after the preview is worth keeping, then use Bambu Studio for slicing decisions. The two tools solve different parts of the same print workflow.
Bambu Studio gives practical feedback that the Image3D preview cannot fully prove. If supports cover the model, the object may need a flatter pose or a stronger base. If thin features vanish, the source image may need simpler shapes or the model may need manual thickening. If the scale feels wrong, decide whether the model is meant to be a small figurine, a desk object, a sign, or a decorative relief before you generate again.
This keeps the paid export decision disciplined. Use Image3D to find a promising mesh, use Bambu Studio to test whether that mesh can become a print, and only spend more credits when the next iteration has a clear reason.
For repeat work, keep notes on printer profile, nozzle size, model scale, support style, and the exact issue Bambu Studio shows. Those notes turn each failed slice into a better next input and reduce wasted downloads for future attempts. Share the notes with anyone reviewing the print.
FAQ
Bambu Studio is a slicer. It can prepare an STL for printing, but Image3D handles the image-to-3D generation step.
Generate a model in Image3D, export STL, import it into Bambu Studio, set scale and orientation, add supports, and inspect layer preview.
Check scale, wall thickness, overhangs, islands, support needs, layer preview, and whether small features survive slicing.
No. They are candidates. You still need to inspect and possibly repair the model before printing.
Standard is good for quick shape checks. Pro or Ultra is better when the image is promising and you want a more detailed STL candidate.
Generate Standard first. Use higher quality or export only when the result is worth keeping.
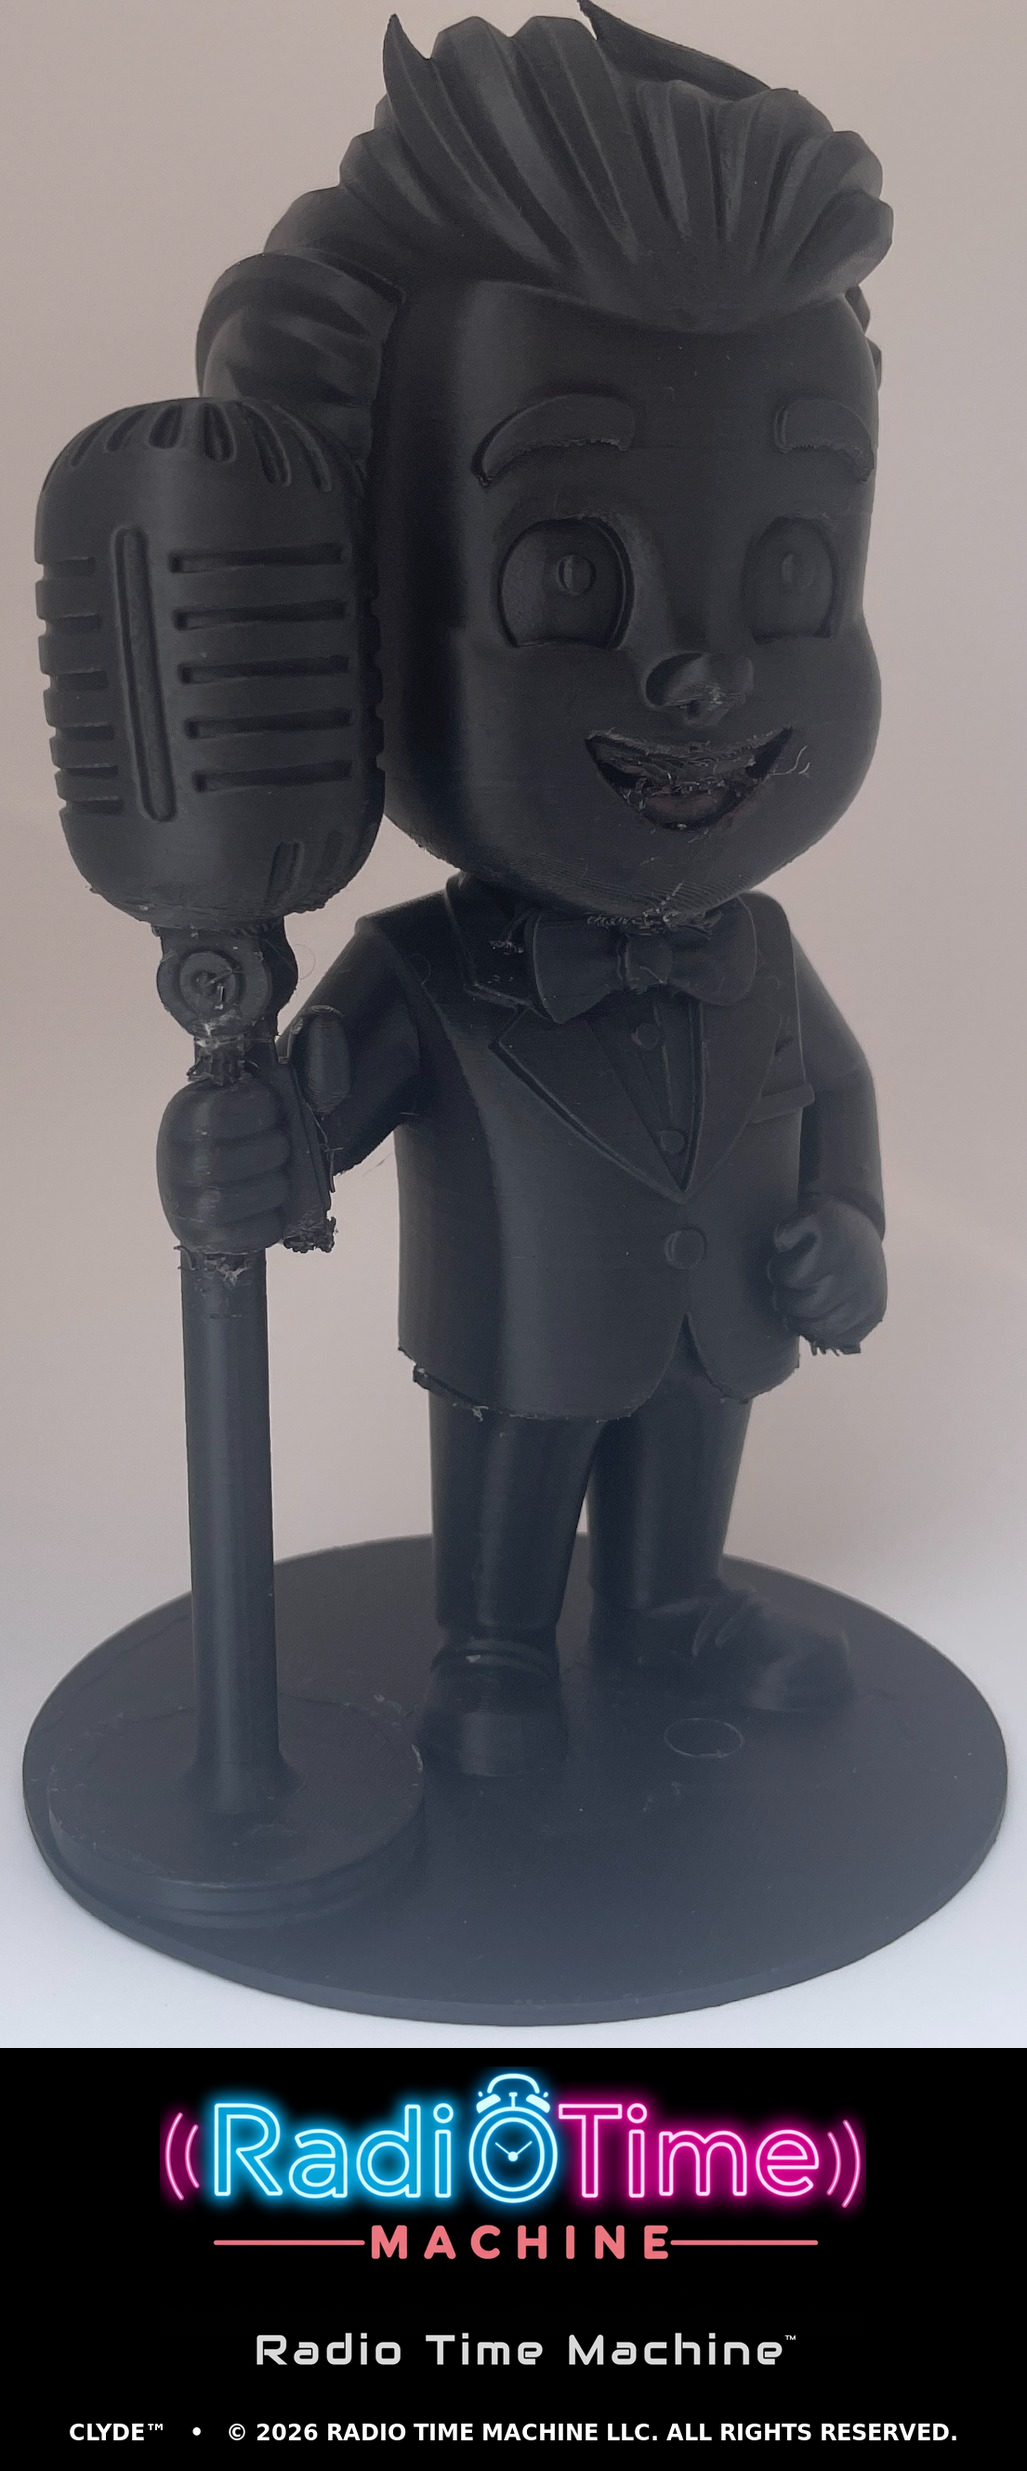
Real Bambu P1S print
Wade Conner created Clyde from a 2D character image, exported the generated model, and printed it on a Bambu Lab P1S. Bambu Studio detected roughly 40 holes and repaired them automatically before slicing. The physical print succeeded and preserved the recognizable character.
The same case also shows the boundary: teeth and other geometry inside the mouth required support material and extra cleanup. A successful slice is stronger evidence than a browser preview, but it does not mean every cavity, thin part, or support surface is ready without editing.
See the full source-to-print case →