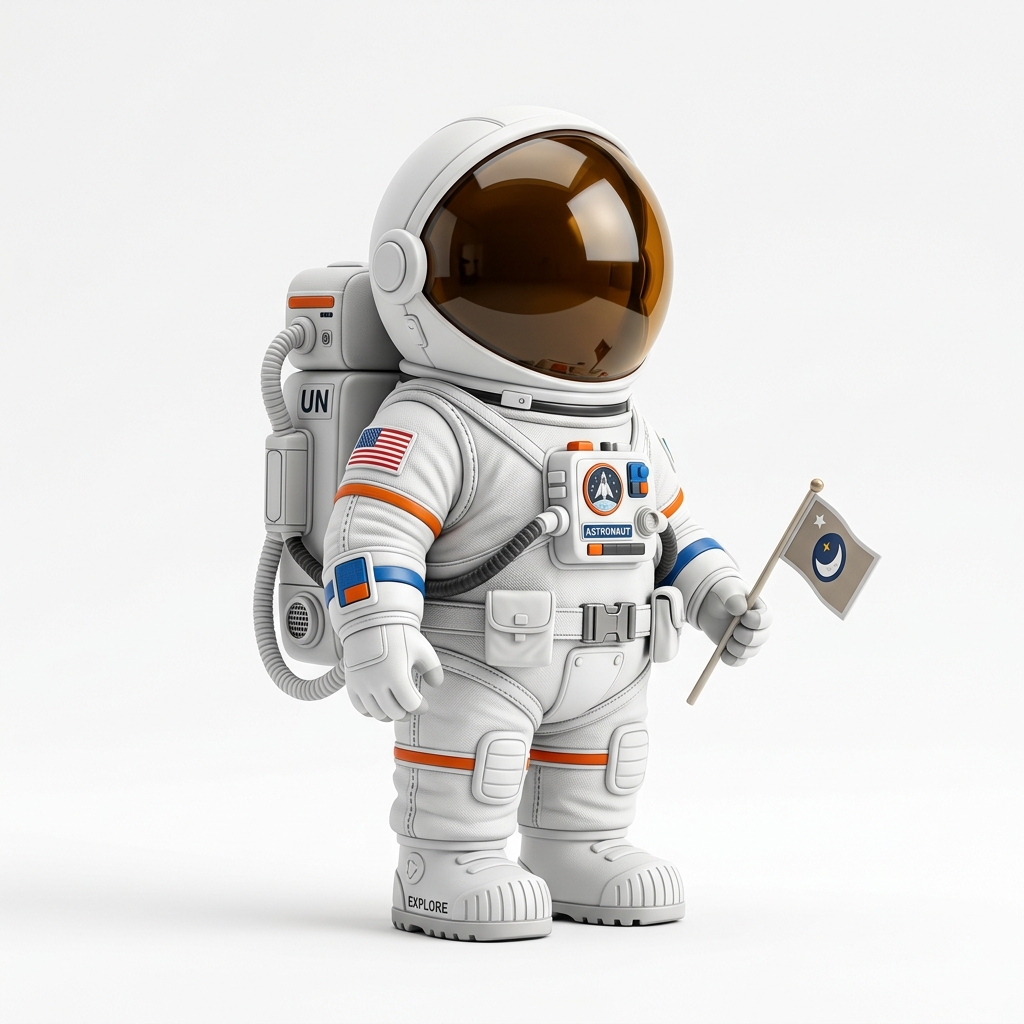
Direct answer
To prepare an image for AI 3D model generation, use one clear subject, a simple background, good lighting, visible object boundaries, and a front or three-quarter view. Avoid blurry screenshots, crowded scenes, cropped bodies, tiny text, transparent glass, and thin disconnected details when the goal is STL, GLB, OBJ, or a printable 3D model.
Before you upload
What image works best for AI 3D model generation?
A clear single-object image with visible boundaries, good lighting, and a front or three-quarter view usually works best.
Should I use PNG or JPG?
Use the cleanest version available. PNG is often better for logos, transparent artwork, and sharp edges. High-quality JPG can work well for photos.
Do human portraits work?
They can work, but faces, hair, hands, and side poses are difficult from one photo. Use clear front or three-quarter portraits and expect cleanup.
What Is a good input image for AI 3D?
A good input image gives the AI enough visual information to infer shape. The image should show one main object, clear edges, visible volume, and lighting that reveals depth instead of hiding it. A clean product shot, figurine concept, prop, logo, badge, or three-quarter object view usually works better than a busy scene.
Image3D can create a first-pass 3D mesh from a single image, but a single image cannot fully describe hidden backsides, exact dimensions, or every small detail. Input preparation cannot guarantee a correct back, exact likeness, measured dimensions, or a printable mesh. Use the checks below to decide whether another generation is worth attempting.
Prepare the image in four checks
- Choose the object and the required view. Write down what must be correct: a prop silhouette, a chair back, a face, or readable lettering. If the important feature is hidden in the photo, take a view that shows it. One image cannot document every side.
- Crop without cutting the object. Keep feet, handles, tips and the base inside the frame. Leave enough space to distinguish the edge from the background. Crop out other objects and interface overlays.
- Make the outline readable. Use even light and a simple background. If removing the background, check that the edit did not erase thin parts, fill a handle opening, or cut into the subject. Enlarging a blurry image does not restore the missing detail.
- Save an untouched reference. Keep the original beside the prepared image so you can compare the output against the actual shape. Use images you own or have permission to use.
This is an inspection checklist, not a validated image score or success-rate prediction. A tidy input can still produce a poor result. For selecting among photo types, see the input image checklist.
Images that usually work well
Single-object photos often work well when the subject is fully visible. Product photos, toys, props, collectibles, badges, simple characters, and clean AI-generated concept art are good starting points. Transparent PNGs can also work because the background boundary is already separated.
For 3D printing, clean shapes are more important than dramatic lighting. A highly stylized image can look beautiful but produce thin fragile geometry. If the final goal is STL, prefer a clear readable shape over a cinematic image.
Inspect the first result beyond the front view
Rotate the preview through the front, both sides, the back and the underside. Compare the silhouette, openings and separate parts with your reference. A convincing front texture does not establish that the geometry behind it is correct.
- Shape: look for an inflated back, flattened depth, merged limbs, filled openings or disconnected fragments.
- Surface: look for stretched markings and details that appear painted on rather than modeled. Changing the export format does not reconstruct missing geometry.
- Intended use: a visual draft is not a measured CAD replacement or a print-ready part. Before printing, follow the downloaded STL checks for scale, geometry and slicer preview.
If you already have a GLB, you can inspect that file in the GLB viewer. This checks an existing file; it does not generate or repair a model.
The back is wrong: change the input, edit, or stop?
These are decision examples, not measured Image3D test results. Identify one concrete defect before spending credits on another attempt.
The source hides the required shape
For a chair whose front photo conceals the back support, use a reference view that exposes that support. A new single-image attempt can still infer the unseen faces differently. If every side must match an existing object exactly, use a capture or modeling workflow that records those surfaces; this guide does not promise exact reconstruction from one photo.
The input was damaged by cropping or cleanup
Return to the original image, restore the missing edge or opening, and prepare a corrected input. Repeating the same damaged input does not address that missing evidence.
The mesh is mostly useful with a local defect
Consider editing the usable file instead of replacing the entire result. The GLB-to-Blender guide covers importing an existing model for inspection and further editing. Editing may require modeling skills; exporting alone does not fix the defect.
The result cannot meet the job
Stop if you need exact dimensions, guaranteed likeness, readable small lettering or an unseen back that the reference cannot establish. A higher-priced mode is another attempt, not a guarantee that these requirements will be met. See how to evaluate a mode change.
Before another attempt: cost, waiting and export
Check the selected mode and displayed credit cost in Studio. Free access, available modes, regeneration and export permissions depend on the account and plan; this checklist does not grant credits or exports. Read the current plan terms before buying. Do not assume that an intentional retry is free or that buying export access improves the existing mesh.
A completed but disappointing model and a technical failure are different situations. If a task is still processing, do not start repeated generations merely because it is taking longer than expected. Preserve the task reference and any visible error; check your existing result or use the site's feedback entry if you cannot retrieve it. A timeout or refresh alone does not establish whether a task failed or credits were restored.
When the preview is useful, use the available download control for your intended workflow and reopen the downloaded file. Being able to see a browser preview does not by itself prove that you have downloaded a usable model.
Practical checklist
- Use one subject instead of a crowded scene.
- Crop around the object without cutting off important parts.
- Prefer front or three-quarter views.
- Use good lighting and visible object edges.
- Remove confusing backgrounds when possible.
- Avoid tiny text, hair-like strands, wires, and thin isolated details.
- Choose an available mode and check its credit cost before generating; inspect all sides before buying another attempt.
Frequently Asked Questions
What image works best for AI 3D model generation?
A clear single-object image with visible boundaries, good lighting, and a front or three-quarter view usually works best.
Should I use PNG or JPG?
Use the cleanest version available. PNG is often better for logos, transparent artwork, and sharp edges. High-quality JPG can work well for photos.
Do human portraits work?
They can work, but faces, hair, hands, and side poses are difficult from one photo. Use clear front or three-quarter portraits and expect cleanup.
Can a blurry image still generate a model?
It can generate something, but the result is more likely to be distorted or low-value. Use a clearer source image before spending more credits.
Should I use Pro immediately?
No. Decide what is missing first. A new Pro attempt is not a repair guarantee; check the available mode, credit cost and plan permissions before starting. If the existing model is useful, you may only need export access.