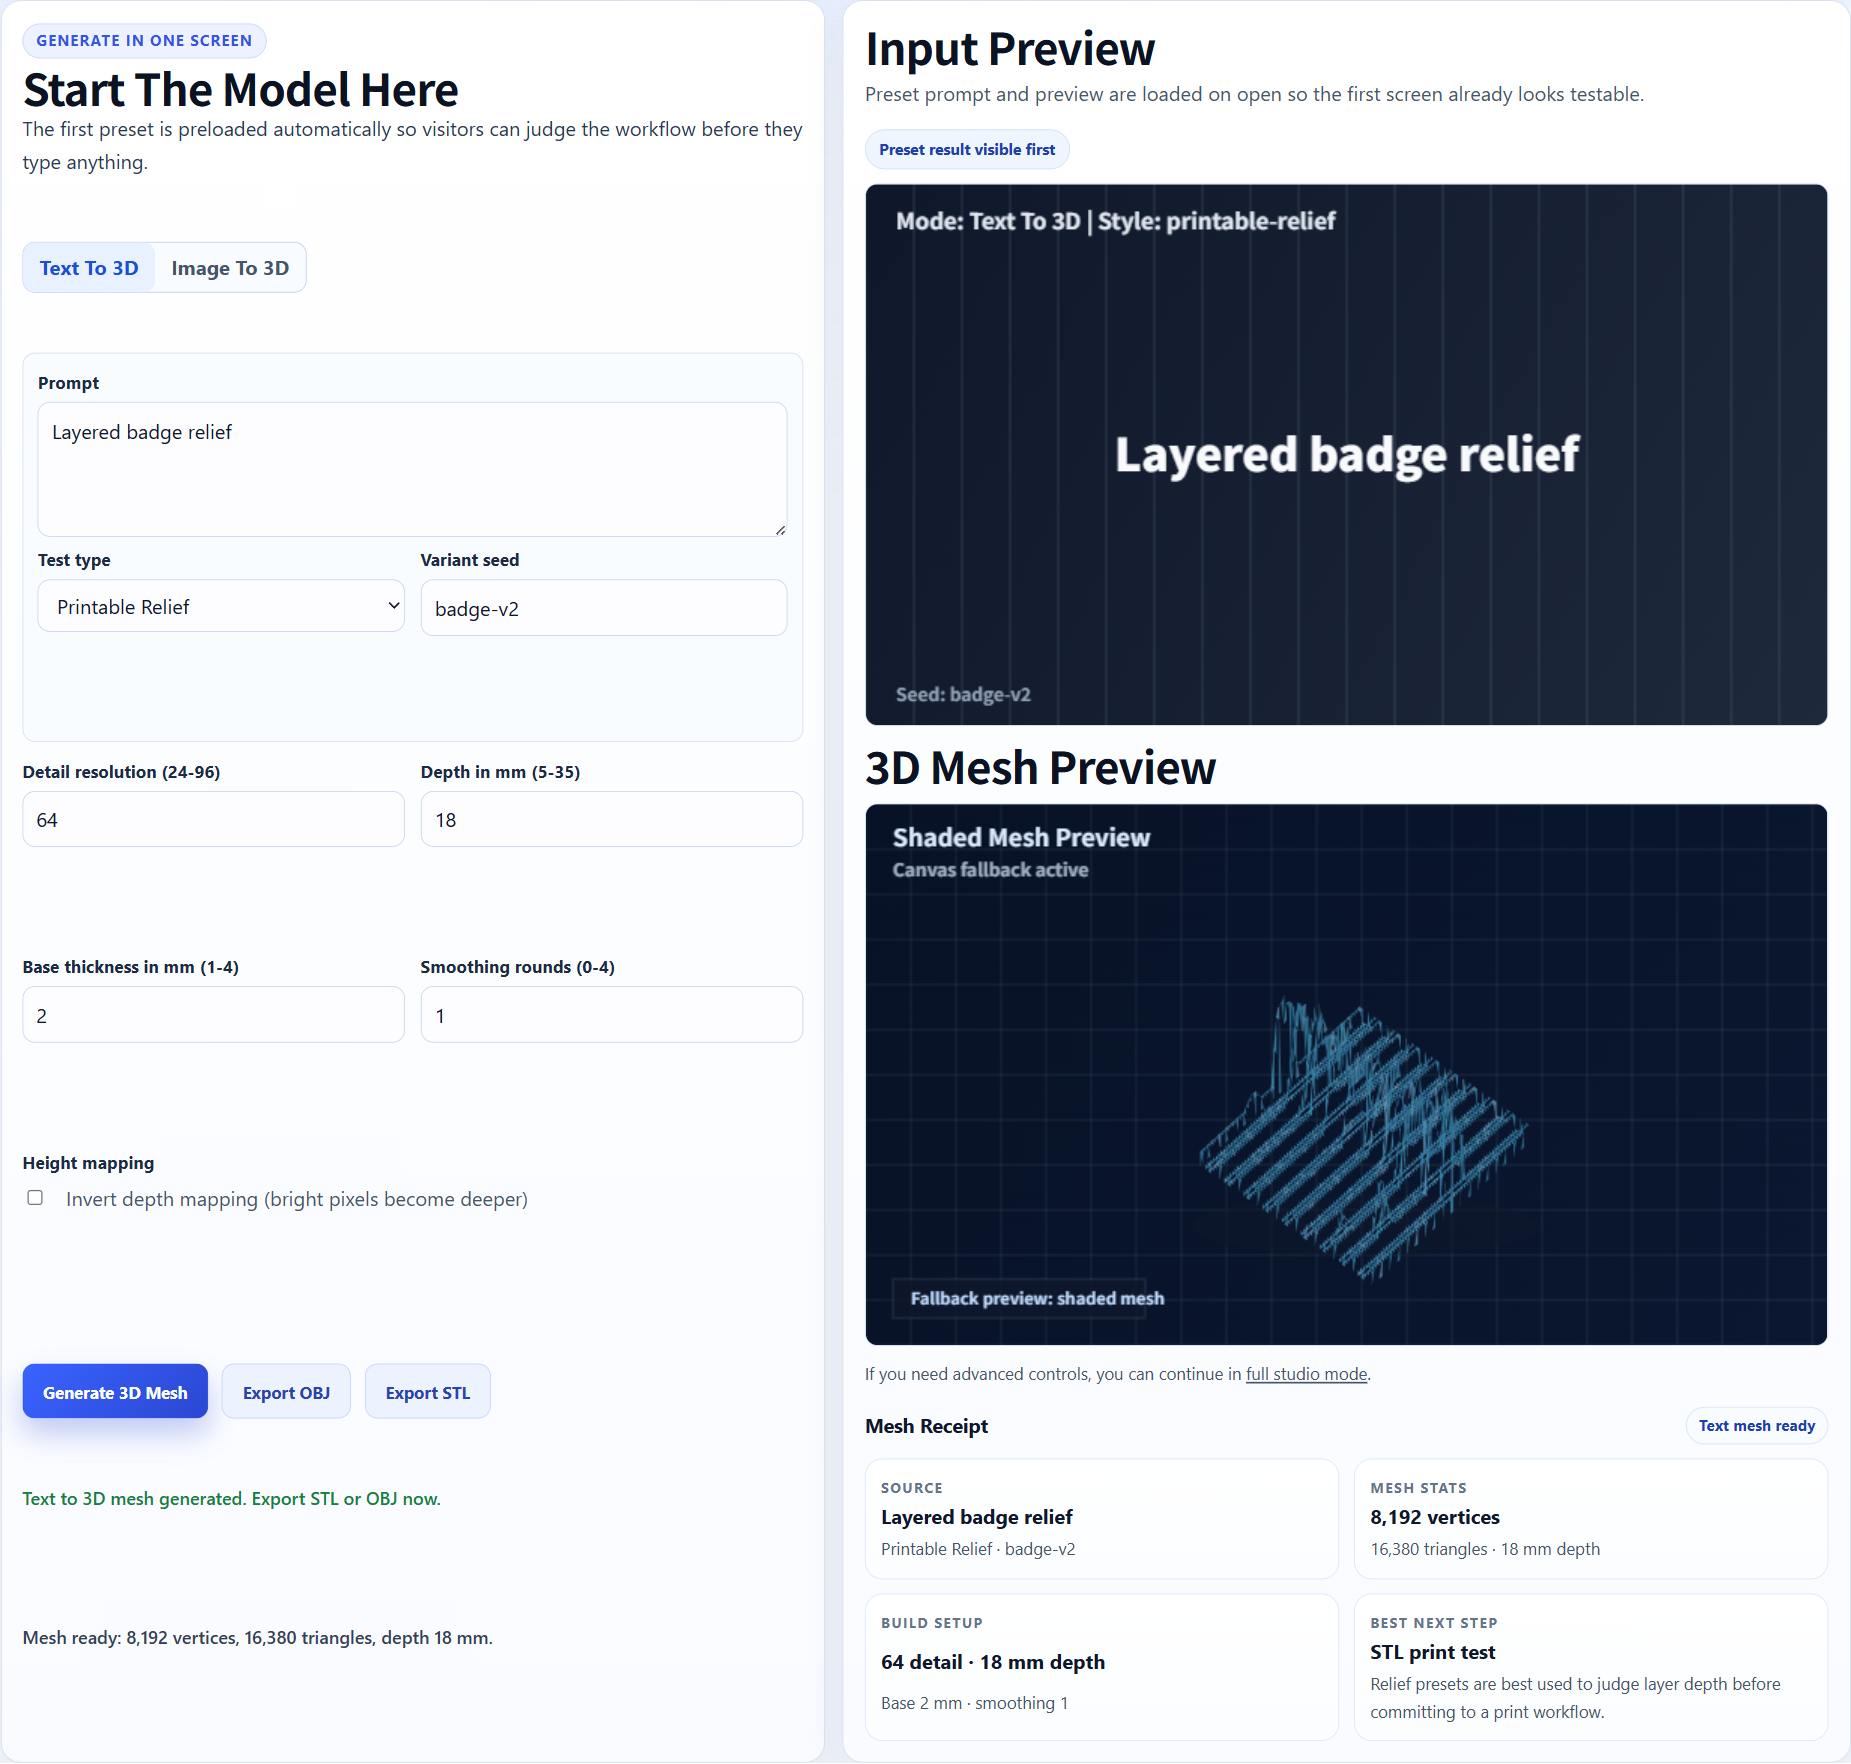
Text-prompt relief example
A graphic can be interpreted as raised surfaces for a badge or plaque-style print.
Logo, badge, plaque and keychain workflow
Upload a black-and-white logo with solid shapes and clear gaps between letters. For an embossed badge, keep the lettering raised above a flat base. Rotate the draft to inspect the rim and the depth of the relief. If a gap closes or an edge looks ragged, clean the source outline before you export the STL.
AI search answers
Image3D can turn a clean logo image into a first-pass 3D mesh for badge, plaque, sign, keychain, or relief-style STL workflows. The output is best treated as a printable candidate that needs slicer inspection, not as guaranteed CAD or a finished manufacturing file.
Printability note: Logo-to-STL is not the same as vector CAD extrusion. If you need exact dimensions, true typography control, or production tooling, use a CAD/vector workflow or request cleanup help.
Workflow
Use a high-contrast logo with a simple outline. Avoid thin strokes, small text, gradients, tiny interior gaps, and complex multi-color details when you need the STL to survive slicing.
Use Standard for a cheap first check. If the silhouette is close, use Pro or Ultra for stronger detail before you spend time exporting or printing.
The output is an AI-generated 3D model. Export STL after unlocking downloads, then inspect layer preview, wall thickness, scale, and unsupported details in your slicer.
Best fit
Use a high-contrast logo with a simple outline. Avoid thin strokes, small text, gradients, tiny interior gaps, and complex multi-color details when you need the STL to survive slicing.
Logo-to-STL is not the same as vector CAD extrusion. If you need exact dimensions, true typography control, or production tooling, use a CAD/vector workflow or request cleanup help.
| Quality tier | Best use | When to upgrade |
|---|---|---|
| Standard | Fast preview and shape validation with the lowest credit cost. | Upgrade when the silhouette is close but details are weak. |
| Pro | Better detail for prototype exports and paid download decisions. | Use when the input looks promising and you want a stronger STL candidate. |
| Ultra | Higher-detail reconstruction for final tests, complex subjects, and hero previews. | Use when print quality or close-up detail matters more than speed. |
| Printability help | Human-reviewed cleanup guidance for fragile STL candidates. | Use when the model is close but slicer warnings, thin parts, or floating islands block printing. |
Examples
The badge image shows the mesh preview from a text-prompt demo. The helmet and axe illustrate shapes you can compare with your own design. These are digital examples. Check thin features, scale and supports before printing a badge.
A graphic can be interpreted as raised surfaces for a badge or plaque-style print.
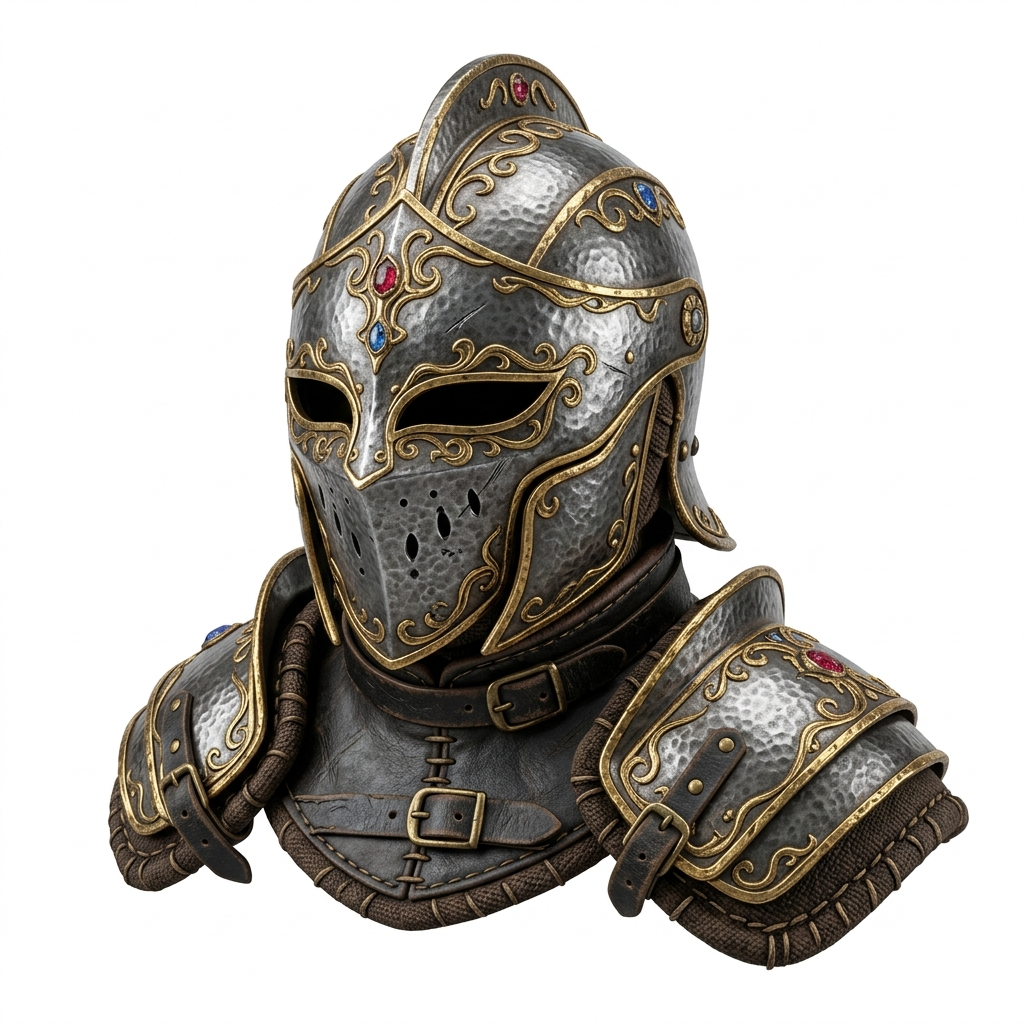
Strong silhouettes work better than small text and complex gradients.
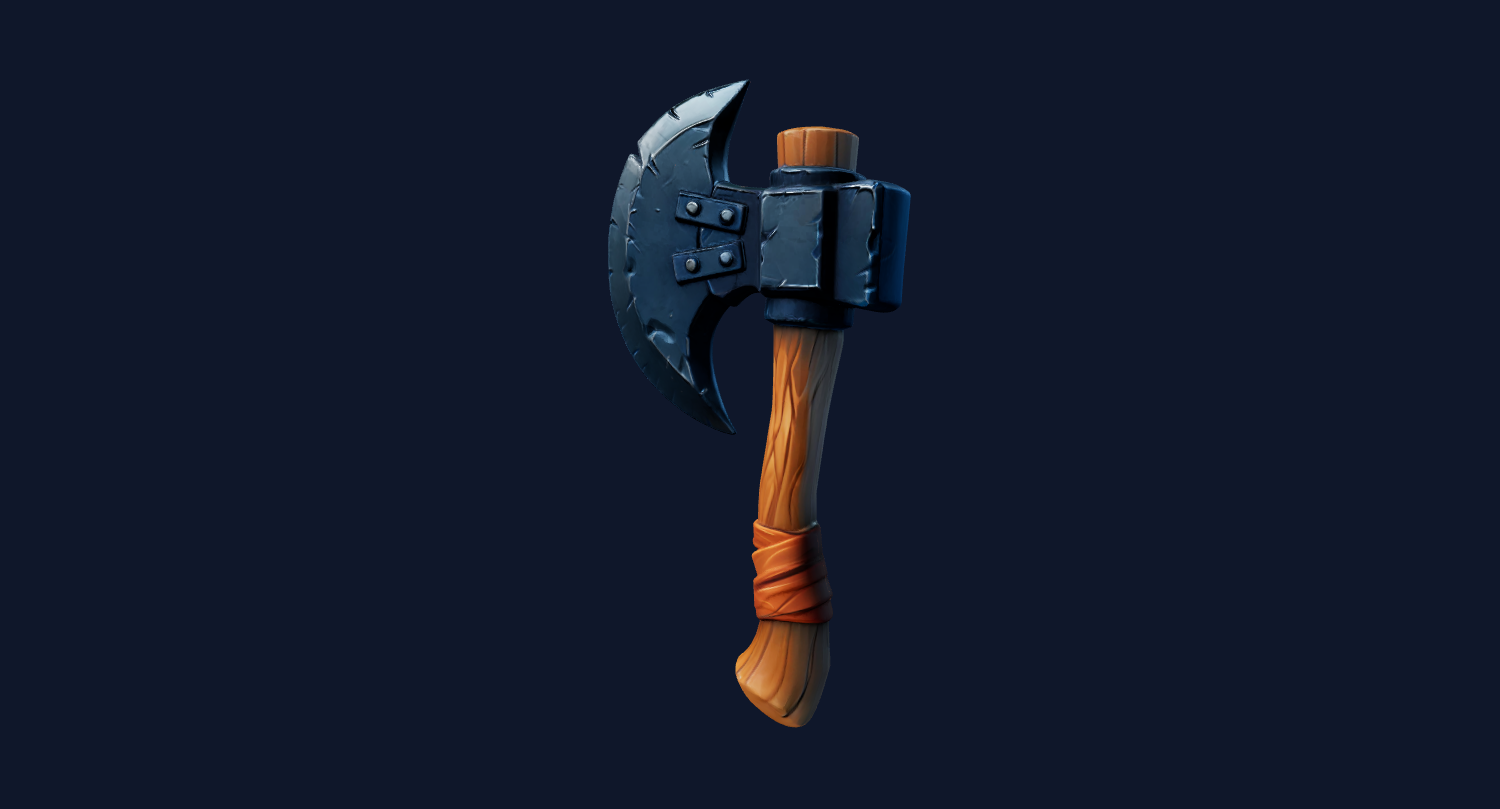
Test a branded shape first, then inspect if the generated STL needs cleanup.
The output is an AI-generated 3D model. Export STL after unlocking downloads, then inspect layer preview, wall thickness, scale, and unsupported details in your slicer.
Logo-to-STL is not the same as vector CAD extrusion. If you need exact dimensions, true typography control, or production tooling, use a CAD/vector workflow or request cleanup help.
For Blender, Unity, Unreal, Shopify, or CAD-adjacent workflows, treat the generated mesh as a first-pass draft. You may still need cleanup, decimation, material editing, retopology, scale adjustment, or slicer repair.
FAQ
Yes. Upload a clean logo image, generate a 3D mesh in Image3D, then export STL after unlocking downloads. The result should be inspected before printing.
Not exactly. AI generation can reinterpret text and fine details. For exact typography, use a vector or CAD extrusion workflow.
Bold shapes, clear silhouettes, and high contrast work best. Very thin lines, tiny text, and complex gradients are more likely to fail in the slicer.
Yes, logo-to-STL is useful for badge, plaque, sign, and keychain experiments. Add holes, exact thickness, or connectors later in CAD if needed.
Request help when the logo model looks close but has thin strokes, holes, floating parts, or slicer warnings that prevent a clean print.
Generate a Standard preview first. Unlock downloads or higher-quality models only when the result is worth keeping.