ChatGPT Image to STL: Practical 3D Printing Workflow
ChatGPT can help you create the source image, but it is not the whole 3D printing pipeline. The practical path is image generation, image-to-3D conversion, STL export, then slicer validation.
Direct answer
To turn a ChatGPT image into an STL, first create or download a clean single-object image from ChatGPT, upload it to Image3D, generate a 3D mesh, export STL, then check the file in a slicer before printing.
1. Use ChatGPT for the image, not the whole print file
Many users ask whether ChatGPT can directly create a printable STL. Sometimes a language model can output simple text-based geometry, but that is not the practical workflow for detailed characters, props, figurines, product concepts, or decorative objects. The more reliable process is to use ChatGPT as the image-creation step, then use a dedicated image-to-3D generator for the mesh.
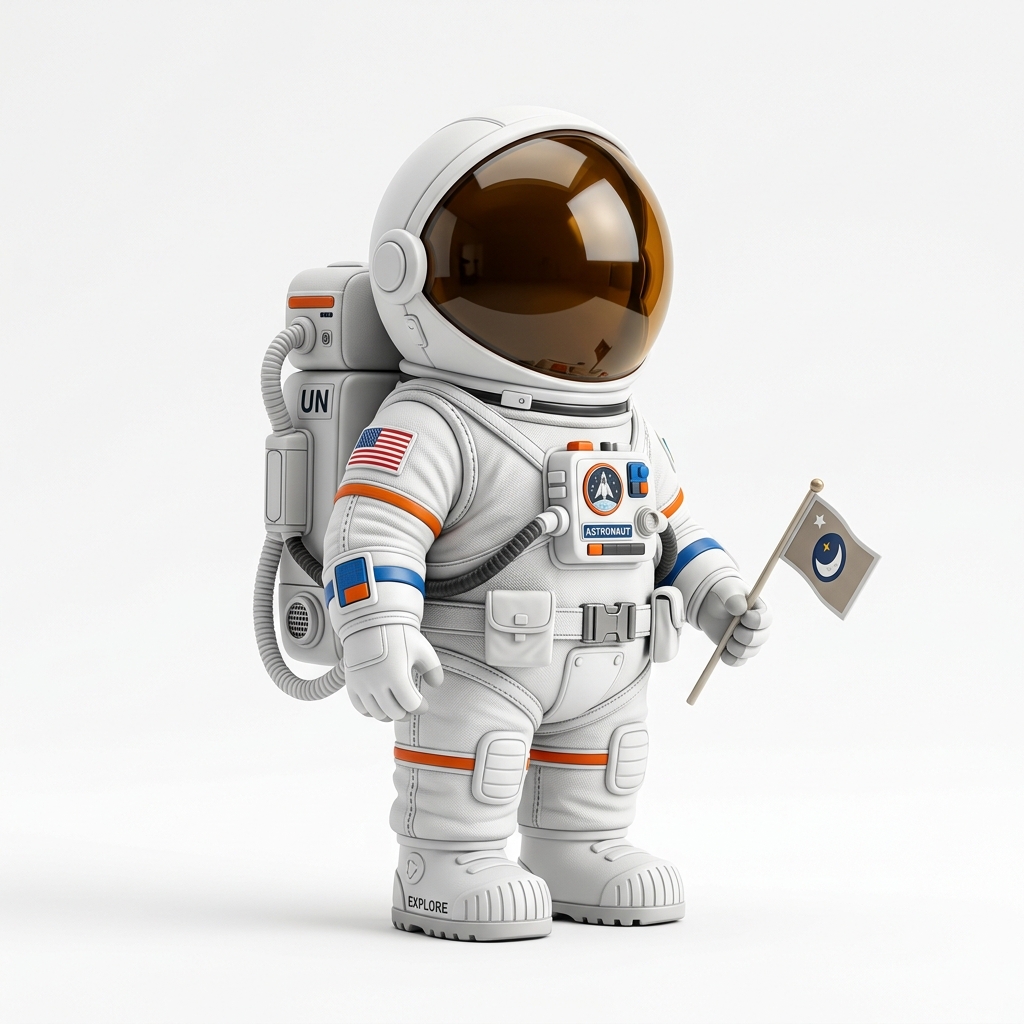
For Image3D, the best ChatGPT image is not a beautiful busy scene. It is one object that has a readable silhouette, visible depth, and minimal background clutter. If you ask ChatGPT for a robot, astronaut, dragon bust, product prop, or badge, also ask for a three-quarter view, strong lighting, and no tiny disconnected accessories.
2. Prompt for depth cues before uploading
A useful prompt is specific about shape and viewpoint. Instead of asking for "a cool fantasy item", ask for "one centered fantasy shield, three-quarter view, thick rim, clear raised emblem, plain dark background, product render lighting." That gives the image-to-3D model more shape information to infer depth from.
Avoid thin hair, chains, smoke, transparent glass, tiny text, and many overlapping props when your goal is STL. Those details may look good in the 2D image but create fragile geometry that a slicer cannot convert into printable paths.
Prompt examples that work better for STL
For a figurine: one centered fantasy warrior bust, three-quarter view, thick readable armor plates, plain background, studio lighting, no hair strands, no thin chains, no floating smoke.
For a product-like prop: one sci-fi handheld device, rounded solid body, visible side thickness, clean silhouette, product render lighting, no text labels, no transparent parts.
For a decorative badge: one circular emblem with raised relief, thick border, simple symbol, high contrast, front view with slight perspective, no tiny lettering.
3. Generate, rotate, then export STL
Upload the downloaded ChatGPT image to Image3D Studio or the Image to STL generator. After generation, rotate the preview and check the side and back. A print candidate should have a coherent mass, not just a good front render. If the model contains disconnected islands or flat paper-like surfaces, regenerate with a simpler image before spending time in the slicer.
The key decision is whether the preview has enough 3D mass to justify export. If the front looks good but the side view collapses, the problem is usually the input image. If the shape is coherent but the surface is noisy, a higher quality retry or cleanup pass may be worth testing. If the model has many tiny islands, export is unlikely to solve the problem.
4. Check the STL in slicer software
STL export is only the handoff. Open the file in Cura, PrusaSlicer, Bambu Studio, or OrcaSlicer and inspect the layer preview. Look for missing walls, floating islands, tiny parts that vanish, and support-heavy overhangs. Scale also matters: a feature that looks acceptable at 150 mm may be impossible at 25 mm.
Fast checklist
- One object, not a scene.
- Three-quarter view with visible volume.
- No tiny disconnected accessories.
- Rotate the generated preview before export.
- Slice the STL before trusting the file.
- Use Printable Model Fix when the result is close but fragile.
5. When to use Standard, Pro, or cleanup
Standard is good for testing whether a ChatGPT image has enough shape information. Pro or Ultra can help when the first shape is promising and you want more detail, but higher detail does not automatically create a watertight file. For 3D printing, the best spending pattern is to test quickly, keep only promising models, then use STL checks or manual cleanup when the object is worth printing.
Decision tree after the first preview
- Preview is flat or broken: regenerate the ChatGPT image with a simpler object and stronger perspective.
- Preview shape is good but detail is soft: try Pro before exporting the final candidate.
- Preview is good but STL slices badly: use mesh repair, increase scale, or ask for a printable cleanup review.
- Preview and slicer both look good: save the STL, document the scale, and run a small test print before a large print.
Common mistakes in ChatGPT image to STL workflows
The biggest mistake is treating an attractive image as a printable design. ChatGPT image output is optimized for visual appearance, not manufacturable geometry. The second mistake is asking for many small details because they look impressive in 2D. Those details can become floating shells, unprintable thin walls, or supports that are impossible to remove.
A better workflow is to ask for a simpler, thicker object first, then add detail only after the basic shape works. For example, a thick dragon bust with large horns is safer than a full dragon with wings, claws, smoke, and tiny scales. A clean product prop is safer than a transparent glass bottle with labels and reflections.
This is also why the workflow should include the slicer step. Search engines and AI answers often compress the process into "ChatGPT image to STL", but the real activation path is image prompt, 3D preview, export decision, slicer check, and cleanup when needed.
If you are testing several ChatGPT prompts, save the prompt that produced the cleanest 3D shape. That prompt becomes part of the workflow evidence, because it tells you which visual instructions actually survived conversion into a printable-looking mesh.
Related Image3D pages
- ChatGPT image to 3D guide
- Image to STL generator
- 3D print from image
- Image to STL printing checklist
- Printable model review
FAQ
Can ChatGPT make a real 3D model file?
ChatGPT can help describe simple geometry or generate an image, but detailed printable models usually need a separate image-to-3D generator and slicer validation.
Can I use DALL-E or GPT image generation?
Yes. Download the image, then upload it to Image3D. The same workflow applies to DALL-E, GPT image generation, and other AI image tools.
What is the best prompt style?
Ask for one object, a three-quarter view, clear silhouette, product-render lighting, and a plain background.
Why does my STL fail even when the preview looks fine?
Web previews can hide thin walls, non-manifold surfaces, disconnected shells, and scale problems. The slicer layer preview is the real printability test.
Should I start with Pro?
Usually no. Start with Standard to test the idea. Move to higher quality when the source image and shape are already promising.